Birdwatching

How to Start Birdwatching in the UK: A Step-by-Step Guide
A pair of binoculars, a pocket guide and half an hour in a local park: that is genuinely all you need to begin. Most people spend their first few months worrying about kit they do not yet need, when the real skill — noticing what is already around you — costs nothing and improves quickly with practice. Here is the order that usually works.
Start with the birds on your doorstep
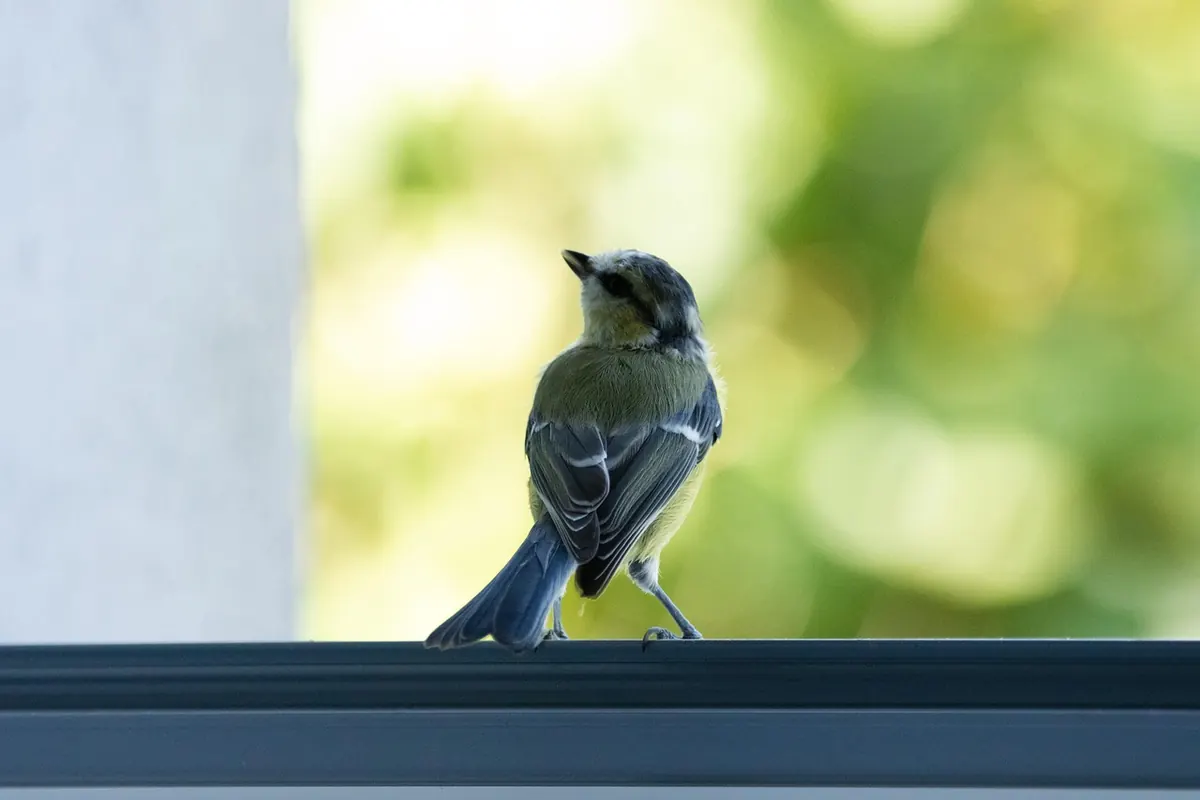
Before you drive anywhere, learn the ten or so species that visit your garden or nearest park: blue tit, great tit, robin, blackbird, woodpigeon, starling, goldfinch, dunnock and their companions. A modest list, but it gives you a baseline, and when something unfamiliar appears you will notice at once because it does not fit the pattern.
Put out a feeder if you have outdoor space and watch at the same time each day. Ten minutes daily beats a three-hour trip once a month, because you start seeing behaviour rather than shapes: who arrives first, who chases whom, how the flock scatters when a sparrowhawk passes through.
Keep a simple list on your phone or the back of an envelope. After a few weeks, add dates. You will begin to see the year turning: redwings and fieldfares arriving in late autumn, chiffchaffs and blackcaps singing in spring, swifts screaming over rooftops in May, then gone by August. Even a tiny urban garden can produce thirty species in a year if you watch it often enough. If you have no garden, adopt a park, a canal towpath, a cemetery or an allotment edge. The point is not the location; it is the repetition.
Choosing your first binoculars
Binoculars are described by two numbers, such as 8x42. The first is magnification, the second the diameter of the front lens in millimetres. For a beginner, 8x42 is the safest all-round choice: eight times magnification is steady in the hand, and 42mm gathers enough light for dawn and dusk, when birds are busiest.
Ten times magnification sounds better but magnifies your handshake too. If you wear glasses, check that the eyecups twist down so your eyes can get close enough to the lens. Roof-prism binoculars (straight tubes) are compact and weather-resistant; porro-prism models (offset tubes) often match them optically for less money. Either is fine.
What to check before you buy
- Hold them to your eyes for a full minute; weight matters more than you expect after an hour outdoors.
- Adjust the eyecups with your glasses on and confirm you can see the whole field of view, not a keyhole.
- Turn the focus wheel with one finger. It should move smoothly and reach sharp focus quickly.
- Look at something with fine detail at distance and check the edges of the image as well as the centre.
- Set the dioptre adjustment so both eyes focus equally.
Buy second-hand if the budget is tight, but look through them first. In the UK, a good 8x42 from Opticron, Hawke, Viking or the RSPB’s own range will serve you for years. Avoid very cheap zoom binoculars; they are usually dim, narrow and frustrating. A harness can save your neck on long walks, and a simple rain cover is worth more than a fancy case. Clean the lenses with a blower brush and microfibre cloth, never your shirt. Keep them by the door, not in a cupboard.
Pick one field guide and learn how it works
The Collins Bird Guide is the standard for Britain and Europe, but any recent photographic or illustrated guide will get you started. The important thing is to read the introduction, not just look at the pictures. It explains how to use plumage, range maps, seasonality and voice. Learn where size, habitat and similar species sit on the page, and identification becomes a process rather than a guess. Pick one guide, keep it in your bag, and resist buying five more until you know the first one well.
Use an app alongside the book, not instead of it. Free tools can help with songs and quick checks, but a field guide forces you to compare features and make a decision. Start with common species and learn their variability: a robin in juvenile plumage, a blackbird with a pale throat, a male chaffinch versus a female. When you see something new, note the obvious things first — size compared with a blackbird, bill shape, leg colour, tail length, behaviour, habitat, call. Then look it up.
A field guide is for confirming what you have already noticed, not for browsing while a bird disappears.
Do not try to identify every bird. Early on, aim for the common ones and let the rest go. A notebook with a few sketches, even bad ones, will teach you more than a hundred photos on your phone.
Learn the common songs and calls
Birdwatching is often listening. Many birds are heard long before they are seen, and in dense foliage voice is the only reliable clue. Start with five songs or calls you can learn in a week. Stand still, close your eyes and listen for a full minute. You will be surprised how much you can separate once you stop trying to see everything.
- Blackbird: rich, fluty phrases with pauses; sings from rooftops and trees, especially at dawn and dusk.
- Robin: thin, wistful, varied notes; one of the few birds singing through winter.
- Great tit: a clear two-note “teacher-teacher” or a repeated saw-sharpening sound.
- Woodpigeon: a five-note coo, often remembered as “my toe bleeds, Betty”.
- Wren: an incredibly loud, fast chatter with a rolling trill, coming from low cover.
Use a birdsong app to check what you heard, but avoid playing calls back in the field. Playback can distract or stress birds, especially in spring when they are defending territory and feeding young. Listening is a skill like any other: the first week is confusing, the second is better, and by the end of a season you will recognise your local soundtrack without thinking.
Make a local patch your classroom
Choose one place within fifteen minutes of home and visit it at least once a week. It might be a park pond, a stretch of canal, a reservoir edge, a hedgerow footpath or a small woodland. Walk the same route, at roughly the same time, and write down date, weather and what you see. This is how you learn what is normal, and only then can you spot what is unusual.
Go early if you can. Birds are most active in the first few hours after dawn, and the place is quieter. Walk slowly, stop often, and avoid sudden movements. Listen for alarm calls; they will tell you a sparrowhawk or cat is nearby before you see it. If you are on the coast, watch the tide — waders and gulls concentrate at different stages. In winter, check flocks of thrushes and finches for something rarer among them. In summer, watch hirundines and swifts overhead.
Keep records. Submitting them to BirdTrack or eBird takes a minute and adds to real conservation data. Join a local RSPB or wildlife trust group, or a bird club, and go on one beginner walk. Birdwatchers are generally generous with knowledge, but ask specific questions: “What made you call that a chiffchaff rather than a willow warbler?” is better than “What’s that?”
None of this requires a reserve, a rare bird or expensive kit. Start tomorrow: ten minutes outside, one unfamiliar call, one note in a notebook. The birds are already there. Your job is simply to turn up often enough to notice them.
Photo: Pexels / Pixabay